01
Decide whether the 24×48 format fits the floor and the home
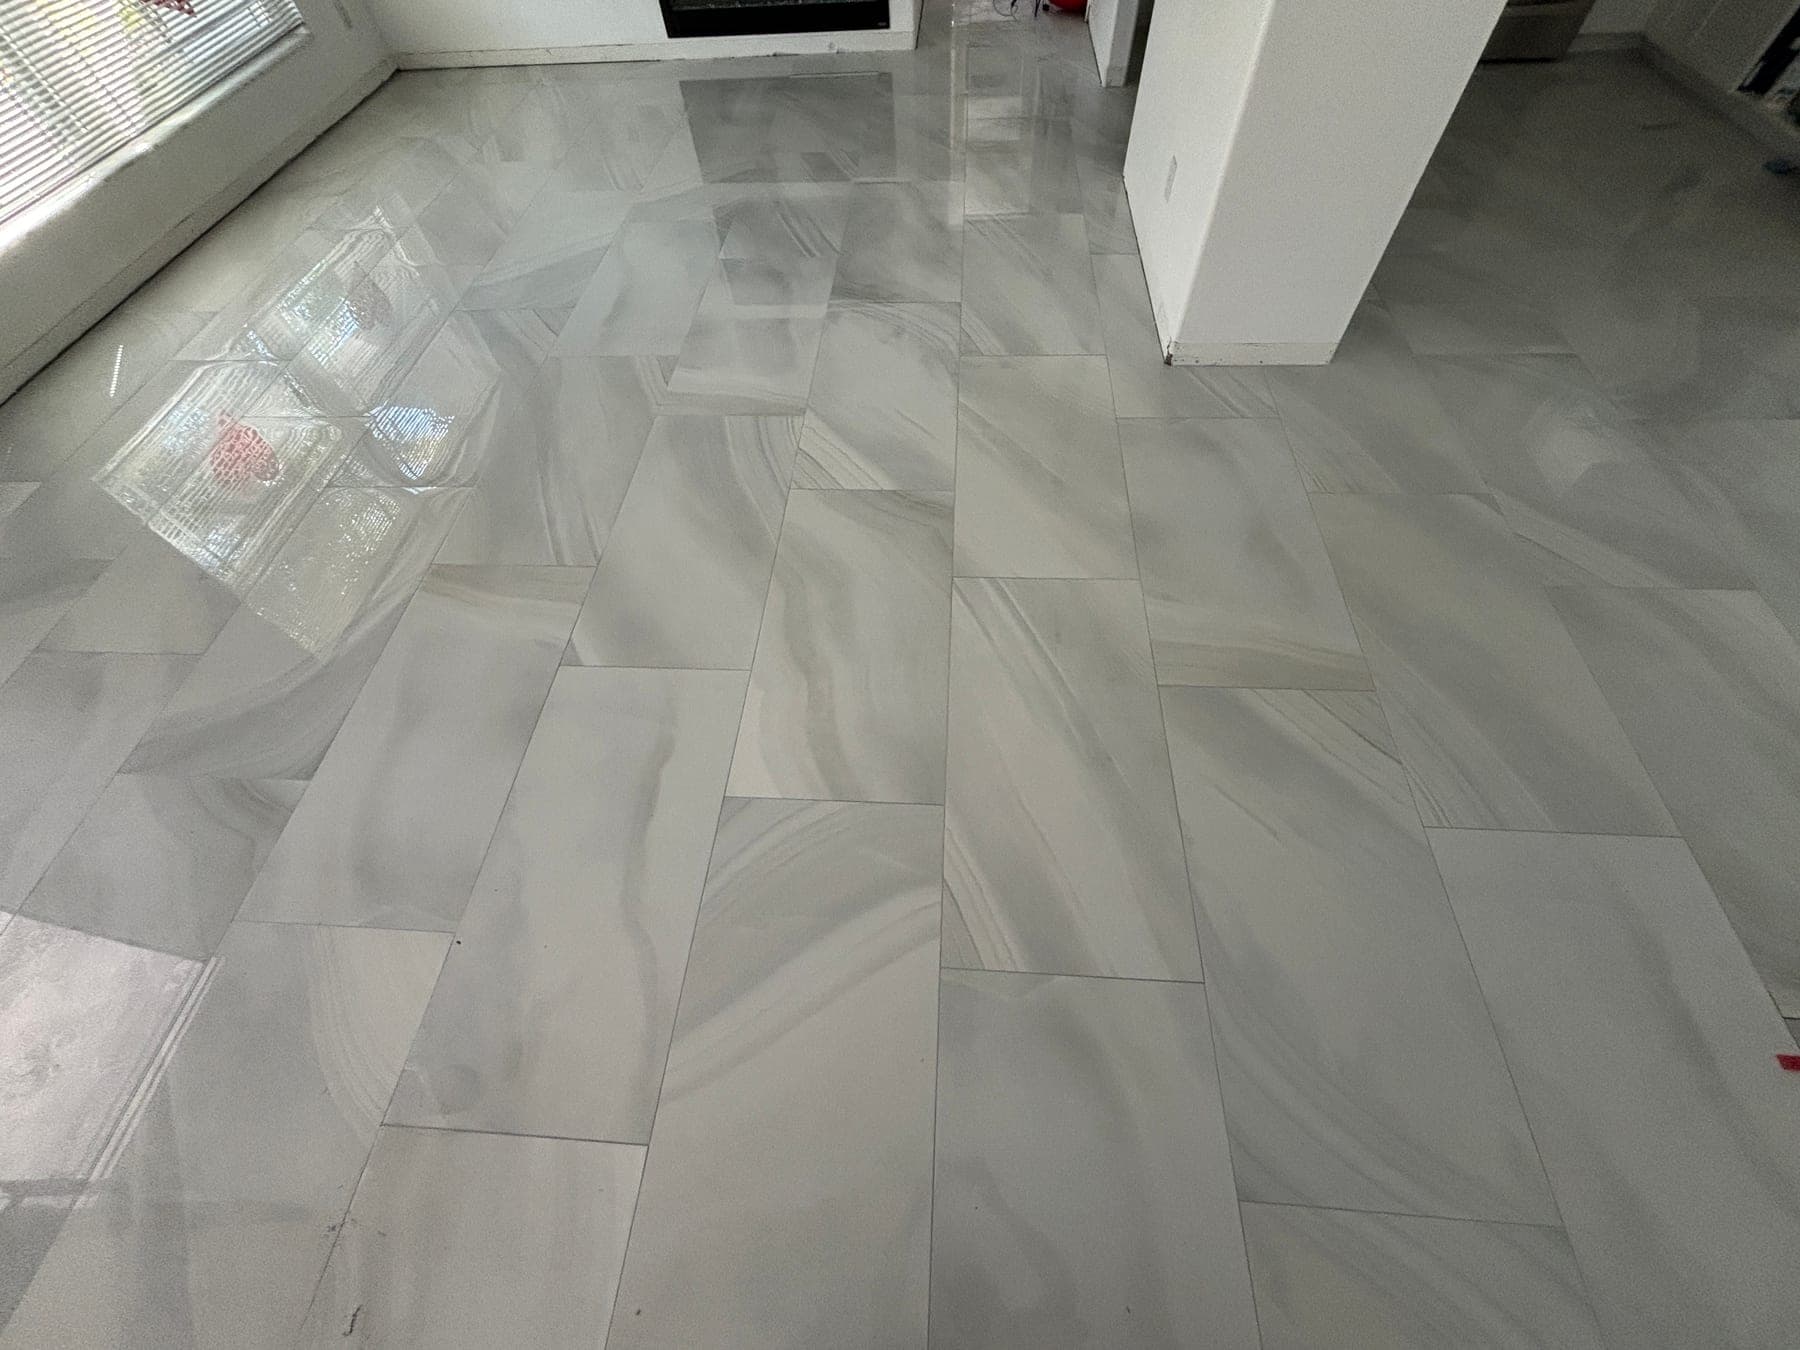
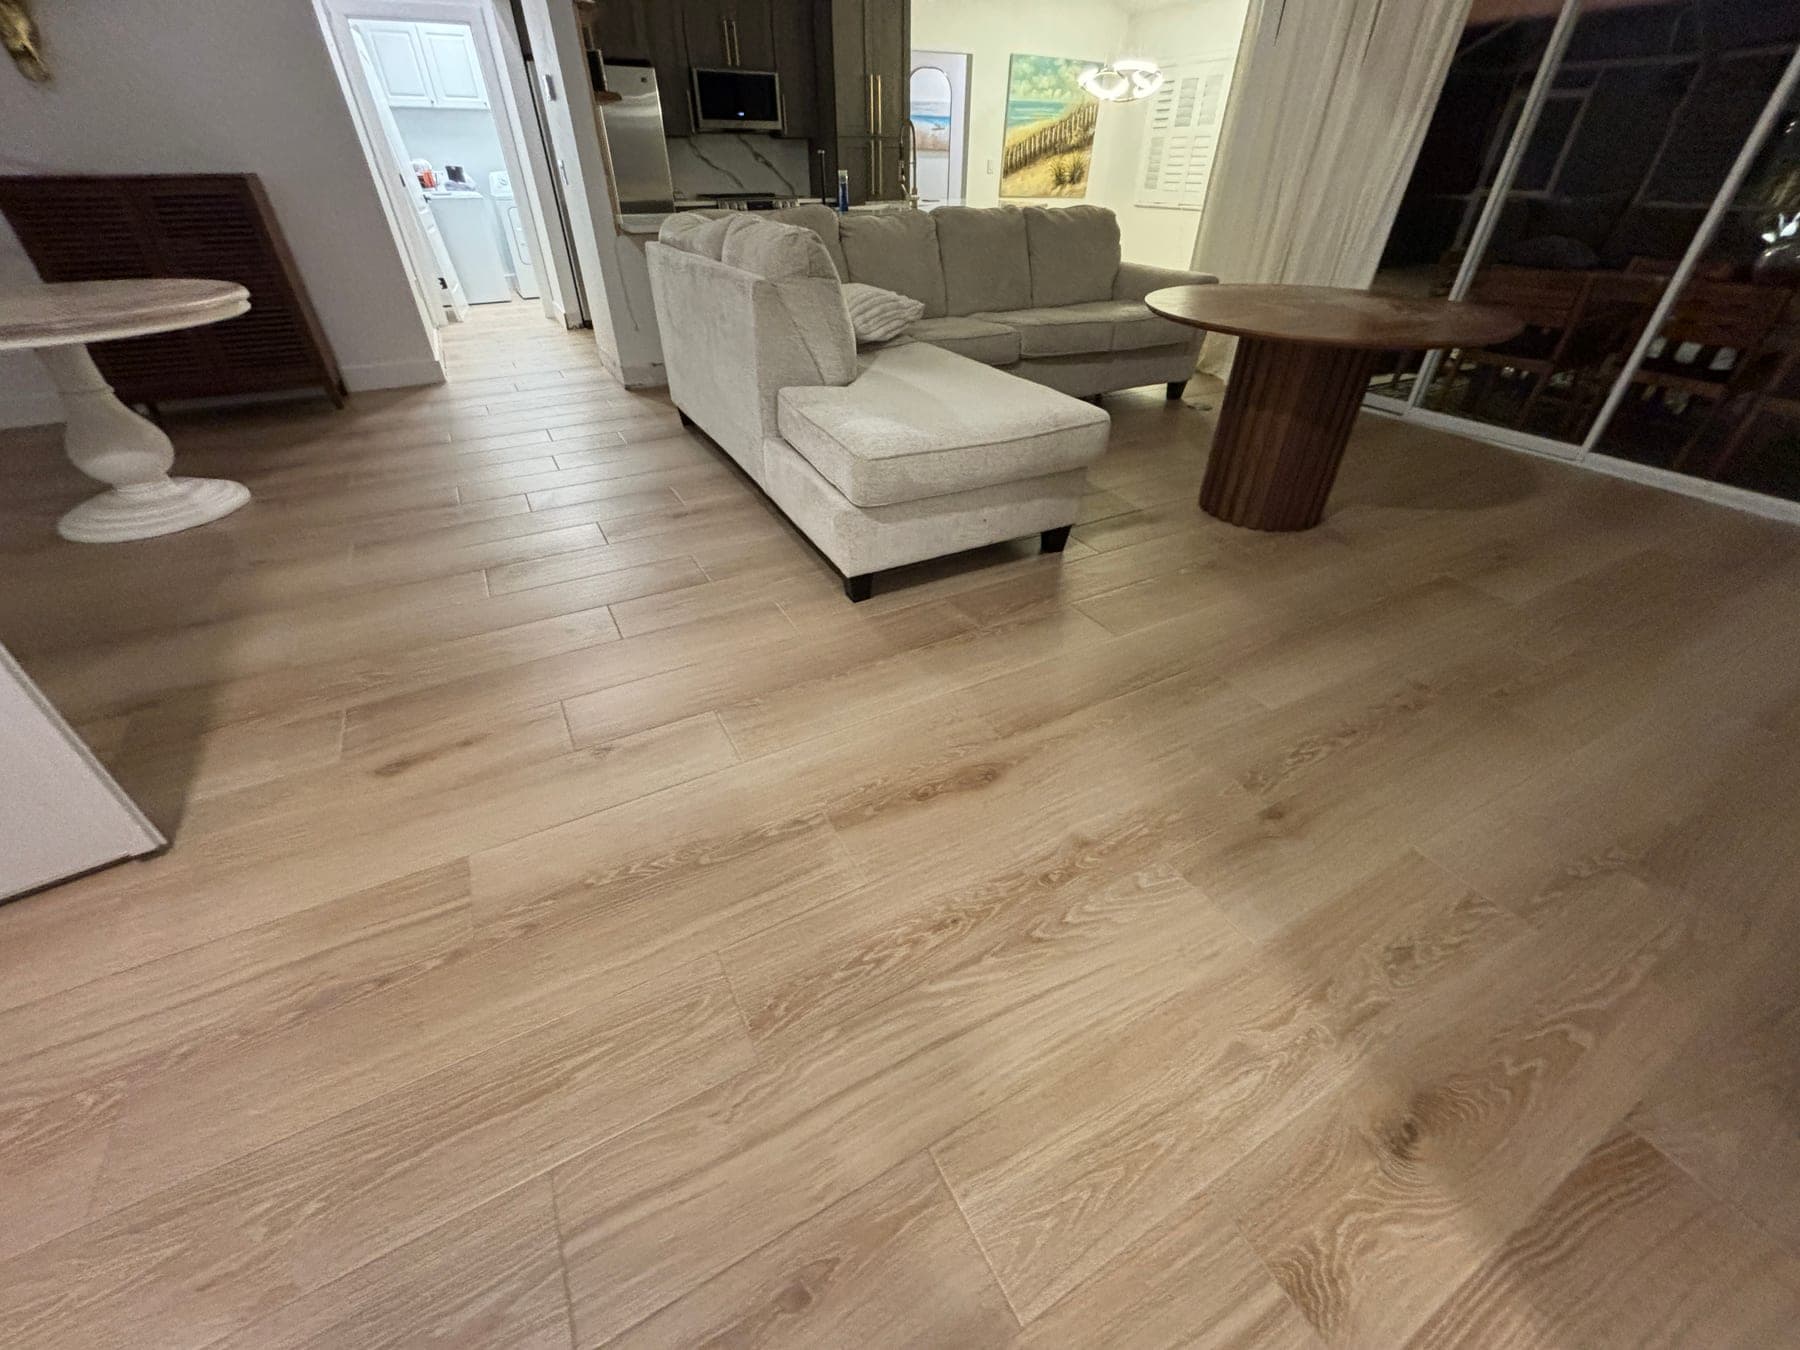
A nominal 24×48 porcelain tile can create a quiet, continuous floor because each piece covers a broad area and reduces the number of grout lines. The format also makes substrate variation, cut planning and handling more consequential. Before selecting it, review the actual carton dimensions, thickness, edge treatment, surface texture and pattern variation across several pieces. This guide addresses interior floors, not tiled walls or shower assemblies. Floor suitability depends on the room geometry, slab condition, transitions and safe movement through the work zone as much as it depends on the appearance of a showroom sample.
Consider how the tile will pass through doorways, around islands and into connected rooms. A large piece may look appropriately scaled in an open Sarasota living area yet create narrow strips in a hall or awkward cuts at fixed cabinets. Measure access from the delivery point to the installation area, including elevators and turns. Heavy cartons need dry, secure staging without overloading a single path or blocking exits. The format is workable in many homes when the layout and preparation support it; choosing it first and solving every physical constraint after delivery creates avoidable waste and compromised details.
02
Measure slab flatness and correct the surface before tile setting
Large-format tile needs a surface that is sufficiently flat for the selected product and installation method. Flatness describes variation across the plane; it is not the same as making the entire floor level. A Sarasota slab may slope gradually while still accepting tile after localized highs and lows are addressed. The installer should measure rather than judge only by sight, then mark ridges, depressions, patches and abrupt changes. Required tolerances should come from applicable standards and product instructions. Mortar is a bonding material, not a general substitute for deliberate slab correction when broad or deep variation exists.
Preparation can include removal of contaminating residue, mechanical abrasion, patching, grinding or use of compatible flattening products. Each method has dust, cure, moisture and thickness considerations. Old adhesive, paint or curing compounds may interfere with bonding, while weak patches can fail beneath an otherwise sound installation. Cracks require evaluation of their character and the planned assembly; no membrane makes every type of movement harmless. Homeowners should request a clear preparation scope and a process for conditions revealed after removal. Leveling clips installed between tiles cannot repair an unprepared slab and may mask stress rather than resolve it.
03
Inspect, move and stage large porcelain pieces deliberately
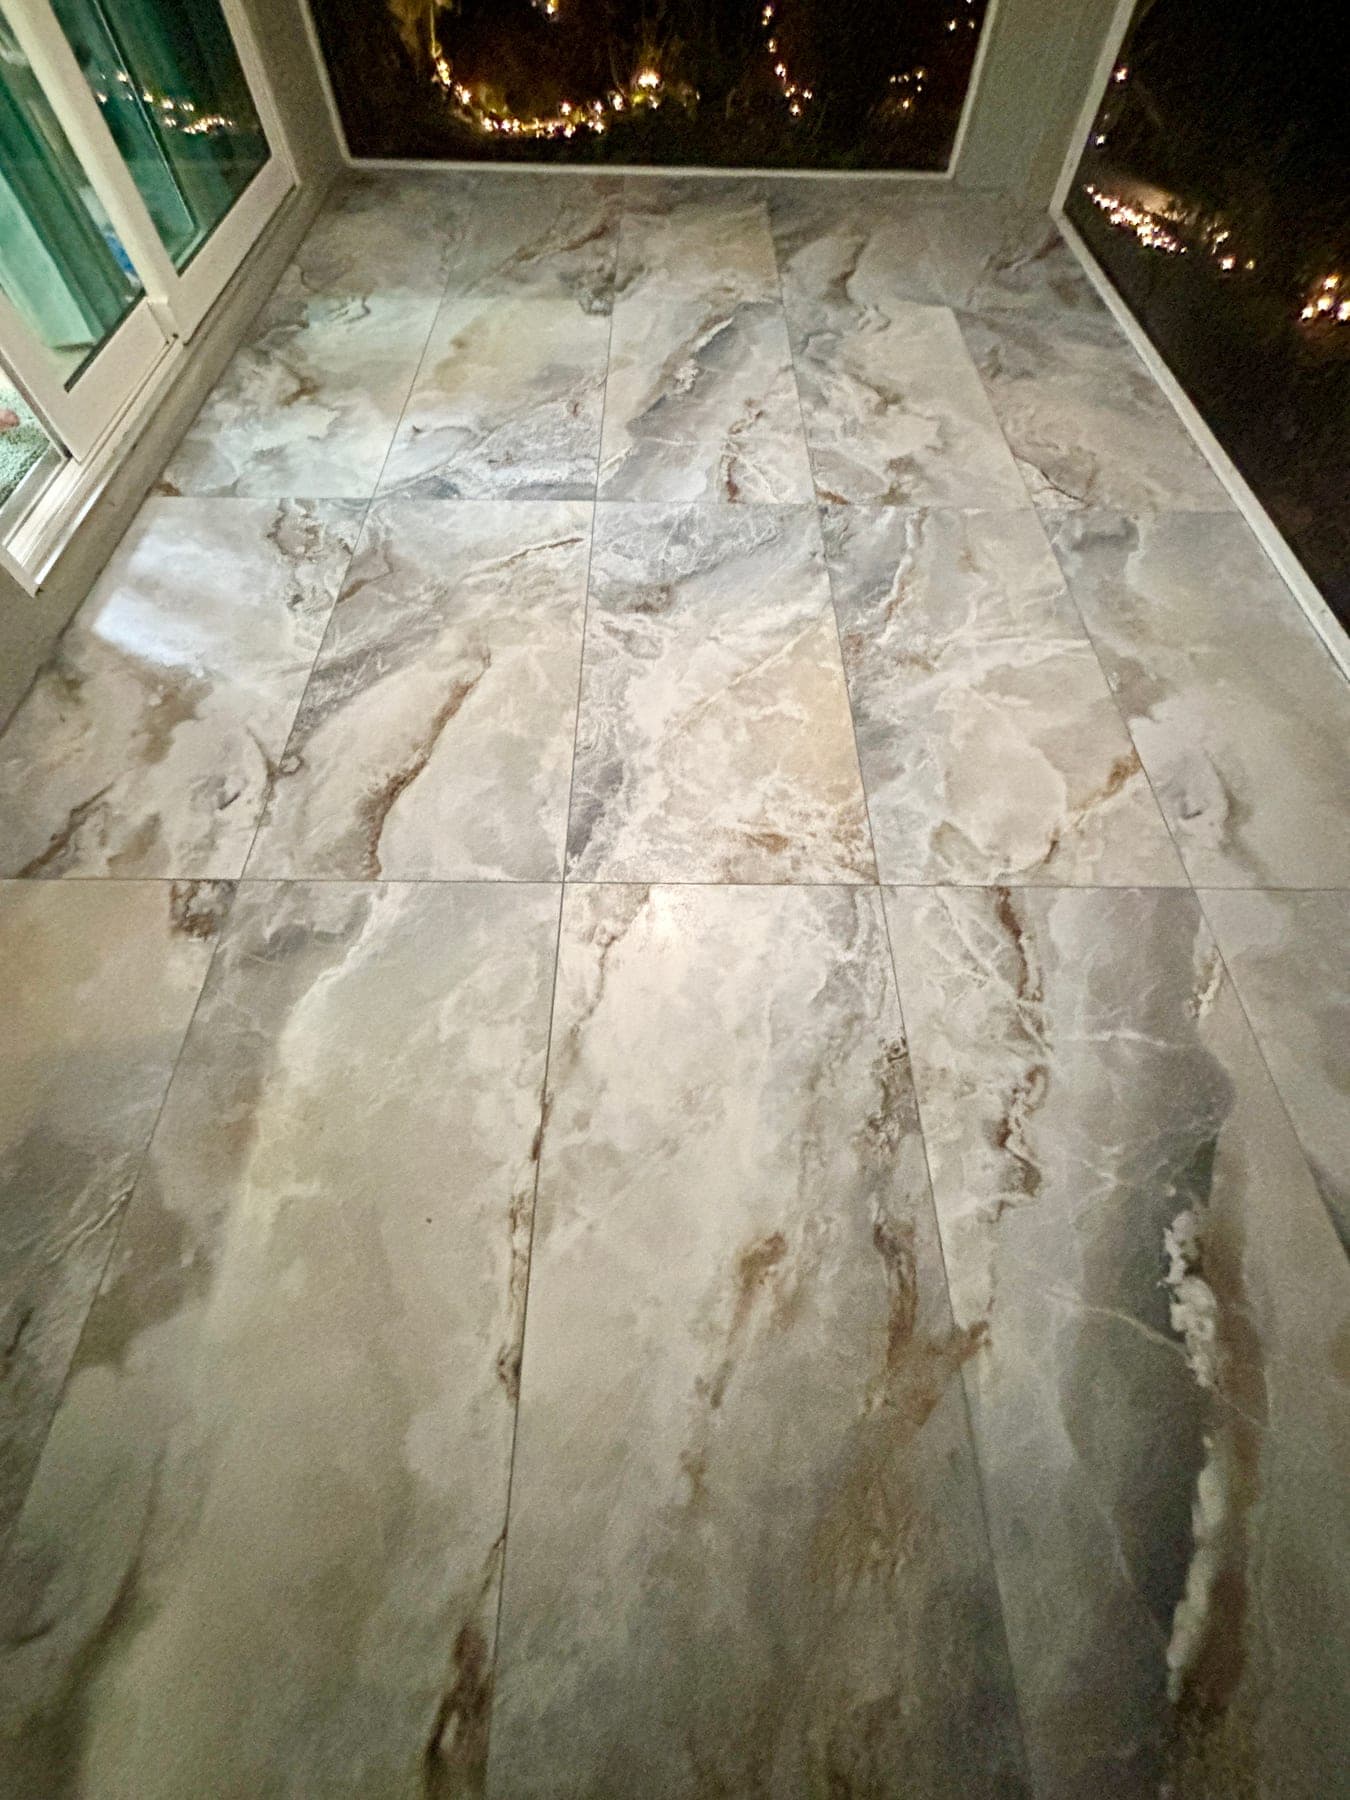
Open cartons from different pallets or production groups before installation and compare labels, dimensions, shade and visible pattern. A rectified edge does not make every piece identical or perfectly flat. Place representative tiles face to face or use other appropriate checks to understand bow and edge variation. Inspect for chips, cracks and printing defects under useful light. If a veined design has directional markings or intentional variation, establish how pieces will be mixed. Finding a mismatch after a continuous room is partly installed can turn a manageable delivery issue into a disruptive removal and replacement decision.
Moving a 24×48 tile safely often requires two people, suitable carriers or suction tools, and a path cleared of trip hazards. Pieces should be supported to limit flexing and protected from edge impacts. Create a staging sequence that brings enough material into the work area without stacking cartons on freshly installed tile. Dry cutting, wet cutting and edge finishing need designated locations that control debris and avoid contaminating prepared surfaces. In an occupied home or condominium, the installer should coordinate delivery windows, elevators and daily storage so large pieces are handled consistently rather than rushed through narrow access points.
04
Build a full-floor layout around sightlines and usable cuts
Layout should begin with measured control lines across the connected floor, not with the nearest wall. Walls, cabinets and islands may be out of square, so following one edge can push joints visibly off course elsewhere. Review the main viewing direction from entries and seating areas, the path through open rooms and low-angle light from large windows. Test where full pieces and cut pieces land at perimeter walls, thresholds and fixed objects. The homeowner and installer should approve the governing priorities because no layout can maximize every edge simultaneously in an irregular group of rooms.
Joint width must reflect actual tile variation, edge type, manufacturer guidance and the planned pattern. A minimal-looking joint is not automatically an appropriate joint. If the surface has a directional print or repeating graphic, lay out multiple cartons to avoid accidental clusters. Vein orientation should be planned before pieces are cut. Confirm the starting area still allows the team to exit without crossing fresh work and preserves practical staging. A written or photographed layout approval helps distinguish a later preference change from a departure from plan, especially when long grout lines continue through several Sarasota living spaces.

05
Select mortar and verify coverage beneath every large tile
The mortar should be approved for large and heavy tile, the porcelain body, the prepared substrate and site conditions. Follow the selected manufacturer’s requirements for primer, mixing water, slake time, open time and allowable thickness rather than combining habits from unrelated products. Key mortar into the slab and prepare the back of the tile as required by the system. Comb ridges in a consistent direction that allows air to escape when the tile is moved into place. Random swirls or crossed ridges can trap voids that are harder to collapse beneath a broad piece.
Coverage cannot be assumed from trowel size or the use of clips. The installer should periodically lift newly placed tiles and inspect mortar transfer, especially at the beginning, after conditions change and near edges or corners. The result should meet the requirements for the application, with attention to continuous support and avoidance of significant voids. Adjusting technique may involve mortar consistency, ridge direction, trowel choice, pressure or substrate correction. Homeowners need not prescribe those details, but a contractor should be able to explain how transfer is verified instead of treating an unseen bond as automatically satisfactory.
06
Control lippage through preparation, tile evaluation and setting technique
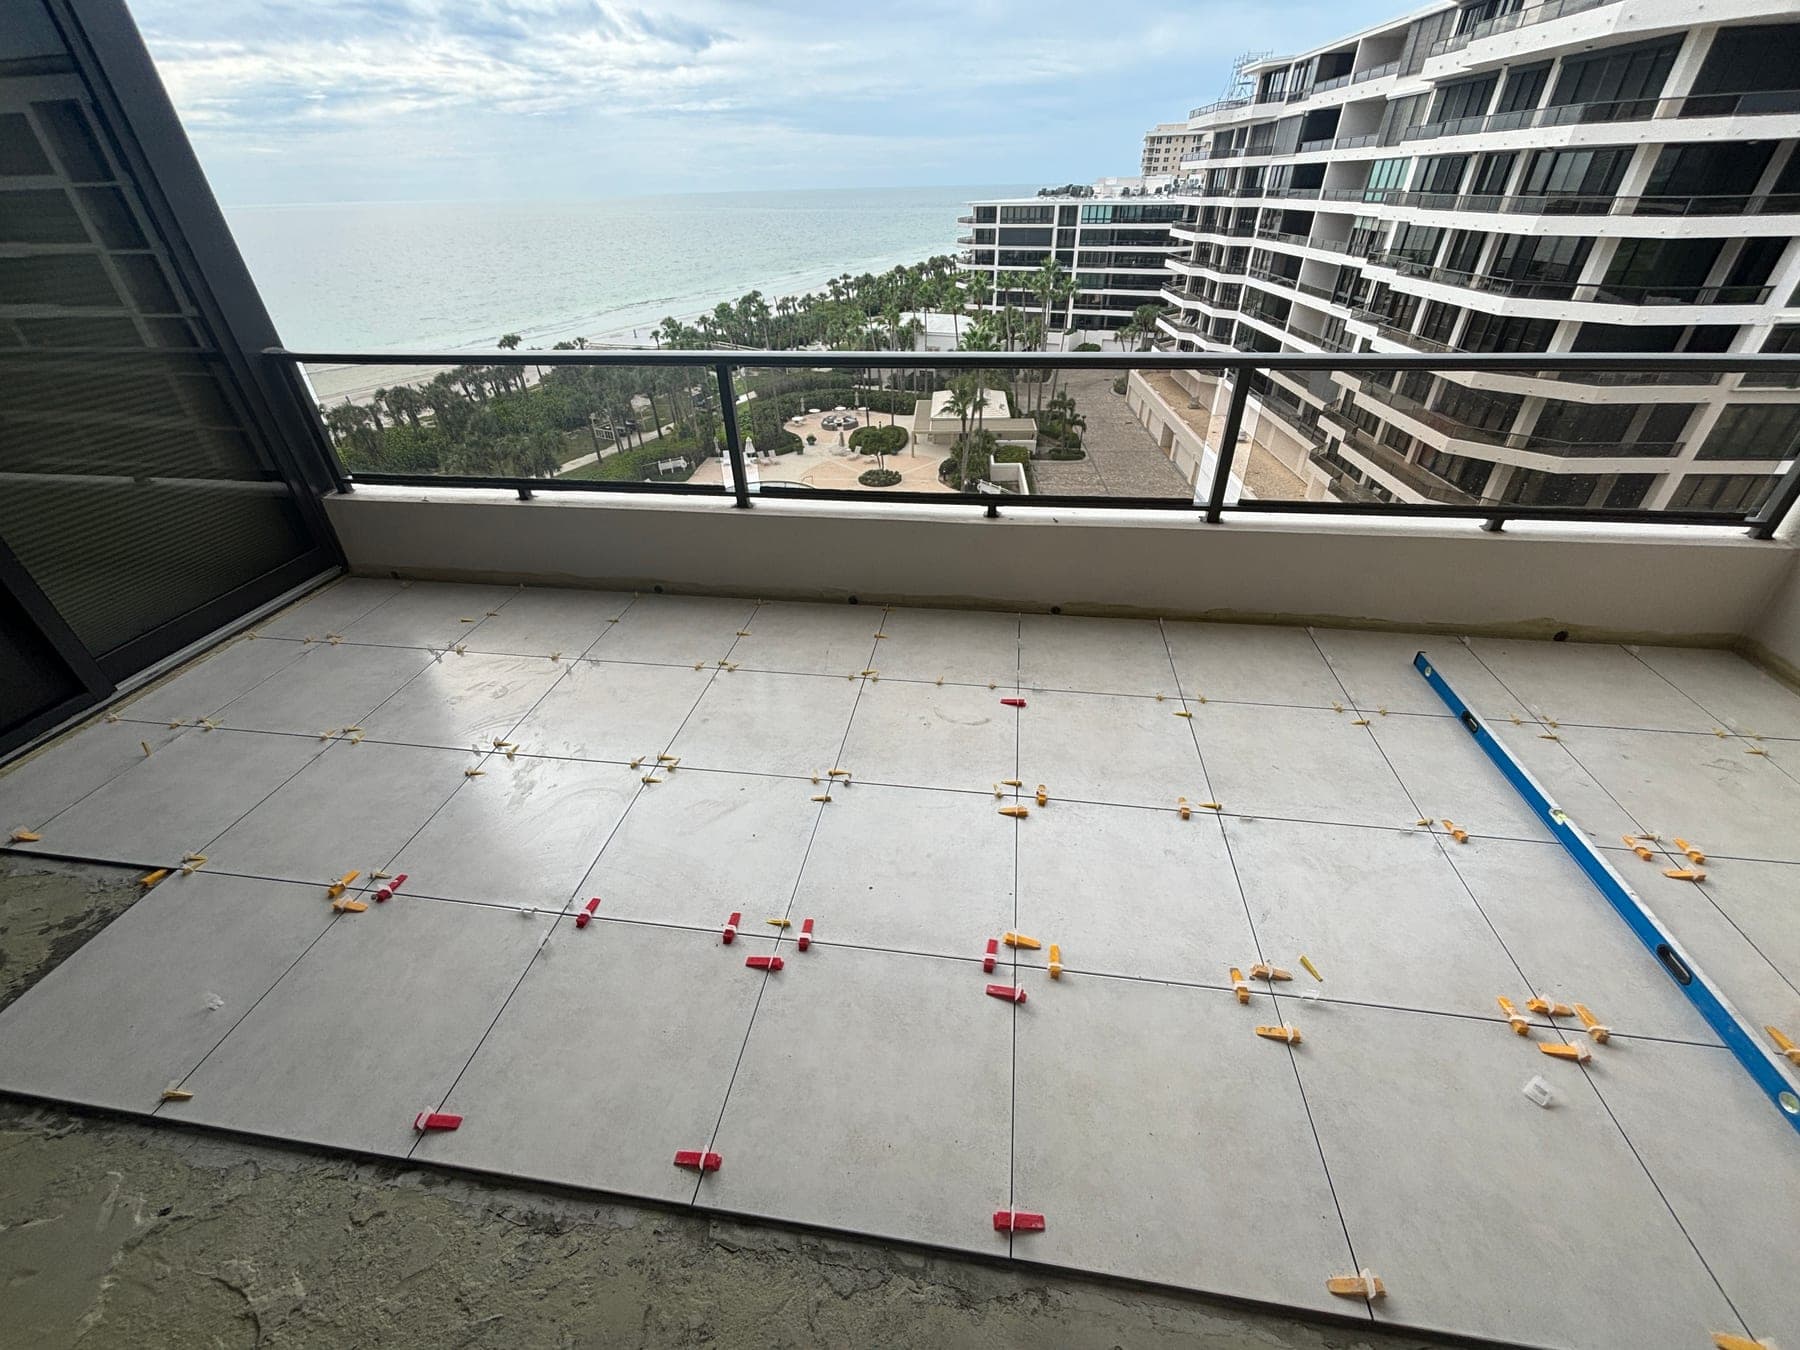
Lippage is the difference in elevation between neighboring tile edges, and its visual effect depends on joint width, tile warpage, surface plane and lighting. With 24×48 pieces, a small slab ridge or bowed tile can influence a long edge. Control begins during slab preparation and tile inspection, before any clip is tightened. The setter should monitor edge relationships with appropriate straightedges and adjust while mortar remains workable. A clip system can help hold adjacent pieces in relation, but it cannot make unsuitable tile flat or safely pull a large piece across a poorly prepared depression.
Strong sunlight across a Sarasota floor can cast shadows that emphasize ordinary variation, so review the proposed direction under the room’s typical lighting. Some surface texture and allowable edge difference may remain; expectations should respond to the tile, joint and relevant standards rather than an unrealistic promise of an optically seamless floor. Avoid judging a single wet or dusty area during active work. At the same time, visible repeating high edges should not be dismissed as merely cosmetic without checking preparation and placement. Consistent measurement and early correction are more effective than debating the finished floor after cure.
07
Respect movement in the slab and throughout the tiled field
Tile, concrete and surrounding construction respond differently to temperature, moisture and building movement. The installation plan should preserve or appropriately address existing structural and movement joints and provide movement accommodation at perimeters and other required locations. Flexible joints are functional components, even when homeowners prefer an uninterrupted grout appearance. Their spacing and construction should follow applicable standards, product requirements and site exposure. Large windows and doors can create areas of solar gain near the floor, while long continuous rooms increase the distance over which movement can accumulate. These conditions belong in the plan before setting begins.
A crack-isolation or uncoupling product may be specified for particular conditions, but its purpose and limitations should be clear. It does not stabilize an actively moving structure or erase the need for movement joints. Transitions between slab sections, additions or differently conditioned spaces deserve attention because they may behave independently. Penetrations and fixed cabinets also affect how the tiled field terminates. Sarasota humidity does not eliminate movement concerns simply because the tile is indoors. A compatible assembly and correctly placed flexible details manage predictable stress more responsibly than filling every joint rigidly and hoping the surface remains unchanged.
08
Plan cuts, thresholds and elevation changes before installation reaches them
A 24×48 tile demands equipment capable of producing controlled long cuts and safe openings without excessive edge damage. Carefully map door jambs, floor registers, columns, plumbing penetrations and cabinet returns before the layout is committed. Some L-shaped cuts concentrate stress and may require a revised joint or sequence. Exposed edges need an intentional finish, whether a compatible profile or another approved detail. The installer should also confirm that cut pieces can be transported from the cutting area to their final location without twisting, collision or contamination of the mortar surface.
Finished elevation affects exterior doors, appliances, toilet flanges, adjoining flooring and accessibility at room transitions. Account for tile, mortar, membranes and preparation layers together rather than using tile thickness alone. A reducer chosen after installation may be visually bulky or create an avoidable change in walking surface. At sliding doors and lanais, preserve required clearances and avoid blocking drainage or operation. In a whole connected floor, a small height assumption can repeat at several thresholds. Documenting each transition before work begins allows fabrication and profiles to arrive on time and keeps the final details consistent with the approved floor plan.
09
Protect curing tile and close out the floor methodically
Mortar, grout, patching products and sealants each need suitable conditions and time before traffic or cleaning. Warm weather does not justify shortening manufacturer instructions, and air conditioning or humidity can change drying behavior within the home. Establish restricted zones and a safe route for occupants before the first tile is placed. Do not stack cartons, roll appliances or permit other trades onto the new floor simply because the surface feels hard. Premature loading can disturb edges or compromise materials that have not developed the necessary strength. Protection should remain clean, breathable where required and secured without damaging the finish.
At closeout, review the floor under normal light after construction residue has been removed. Check joint continuity, perimeter and movement details, transitions, cut edges and any listed touchups. Confirm that doors and appliances operate with the new elevation. Record the tile identification, mortar, grout and flexible sealant, and retain useful spare pieces in a labeled location. The homeowner should receive cleaning and cure guidance specific to the installed products, including when normal washing may begin. A careful handoff preserves the technical decisions behind the 24×48 floor and reduces the chance that inappropriate early use or maintenance undermines the finished work.
FAQ
Questions Sarasota homeowners ask
Does a 24×48 floor tile require a perfectly level slab?
It requires a slab that meets the needed flatness for the tile and installation, but flat and level are different. A floor can slope gradually yet remain flat enough after correction. The installer should measure variation and address localized highs and lows instead of trying to solve broad irregularities with setting mortar.
Can leveling clips replace slab preparation for 24×48 tile?
No. Clips can help control the relationship between adjacent tiles while mortar is workable, but they do not flatten the slab or remove tile warpage. Pulling pieces against an irregular substrate can reduce support or add stress. Preparation, mortar transfer and setting technique remain the primary controls.
Why does the installer lift tiles after setting them?
Lifting selected fresh tiles reveals how well mortar transferred to the back and whether ridges collapsed as intended. The check helps the installer adjust trowel, mortar consistency, pressure or technique before a broad area is complete. Coverage should be verified rather than inferred from tile size or appearance.
Are movement joints necessary in an indoor porcelain floor?
Movement accommodation remains important indoors because tile, concrete and the building respond to temperature, moisture and structural change. Perimeter and field locations depend on applicable guidance and site exposure. Flexible joints are planned components, not unfinished grout lines, and membranes do not automatically remove their purpose.
When can people walk on a newly installed 24×48 tile floor?
Traffic timing depends on the mortar, grout, preparation products, environment and any protection requirements. Follow the installed manufacturers’ written cure guidance and the contractor’s zone plan rather than a generic next-day rule. Heavy appliances, carts and other trades may require longer restrictions than careful foot traffic.