01
Begin with the way the home needs to work
A successful tile floor begins before anyone selects a grout color. List every area that may connect to the new surface, including hallways, closets, pantry openings, sliding doors and transitions to rooms that will remain unchanged. Then record how the household uses those paths. A Sarasota home may need a durable route from the lanai to the kitchen, a quieter work zone for someone living in the house during construction or a phased plan around seasonal occupancy. These details shape the removal sequence, layout, protection and estimate more than a simple square-foot total does.
Use the first conversation to separate the desired result from the preferred appearance. The result might be a continuous, easier-care floor with fewer awkward transitions; the appearance could be a warm stone look or a long porcelain plank. That order matters because an attractive tile still has to fit door clearances, adjacent floor heights, room geometry and cleaning habits. Share wide photographs, approximate room dimensions and any history of loose tile, hollow sounds, cracks or moisture. This information will not replace an on-site review, but it helps the installer arrive ready to investigate the conditions that could influence the plan.
02
Read the concrete slab before covering it
Many Sarasota floor projects start over a concrete slab, but the slab should not be treated as an invisible, uniform platform. After the existing finish is removed, the installer can evaluate contamination, adhesive residue, high and low areas, previous patches and visible cracking. Each condition asks a different question. A paint-like residue may interfere with bonding; a ridge may telegraph through a large tile; a crack may need evaluation before a treatment is selected. The useful outcome is a documented preparation plan that distinguishes observed work from conditions that could only become clear after demolition.
Moisture indicators and cracks should be discussed without assuming that one product solves every situation. Ask what was observed, what additional testing or cleaning is proposed and what limitations remain. Some evaluated cracks may be candidates for a specified isolation approach, while signs of continuing movement call for a different conversation. Flatness also deserves its own review because larger tile formats require a more consistent plane to control adjacent edges. Surface preparation is therefore part of installation, not an optional cosmetic extra. Approving it early makes the later setting work more predictable and makes competing proposals easier to compare fairly.
03
Plan removal, access and daily household logistics
Floor removal affects far more than the room under construction. Discuss where furniture will go, which entry workers will use, how dust boundaries will be maintained and whether the household needs a usable path at the end of each day. Appliances, toilets, baseboards and doors may also touch the flooring scope, so responsibility for moving, removing or reinstalling them should be written down. If the home stays occupied, divide connected areas only where the planned break will not compromise layout or create a weak transition. A realistic sequence protects both daily life and the finished work.
Condominium projects add building logistics that should be confirmed before materials arrive. Management may control elevator reservations, delivery windows, protective coverings, parking, debris routes and acceptable work hours. These requirements influence crew time and the order of demolition and installation, even though they do not change the tile itself. In any Sarasota property, identify a dry, secure staging area where cartons can be inspected and blended without blocking exits. Also decide how removed material leaves the property and how common or exterior paths are protected. Good logistics reduce rushed handling and keep avoidable disruption out of the installation day.
04
Choose and order tile for the actual layout
Evaluate floor tile as a group of pieces rather than one showroom sample. Open-plan rooms and bright windows can make shade range, printed repeats, veining and edge variation easier to notice. Review several pieces in the home when practical, and consider texture under bare feet as well as how it will release tracked sand during cleaning. Porcelain is often considered for busy Sarasota interiors because it can suit a durable, easy-care plan, but the exact product still needs to match the intended application. Record the manufacturer, series, nominal size, finish and shade information before ordering.
Quantity should follow field measurements and the approved pattern, not a universal overage percentage. Diagonal layouts, multiple offsets, large pieces, directional graphics and rooms with many projections can change the number of usable cuts. The plan should also reserve reasonable attic stock for a future repair, especially when several connected rooms use one discontinued-prone finish. Inspect delivered cartons for consistency and damage before installation is scheduled. If material comes from more than one production grouping, decide whether it can be blended acceptably. Ordering too early risks the wrong quantity; ordering too late can make availability control the construction schedule.
05
Map one layout across the whole visual field
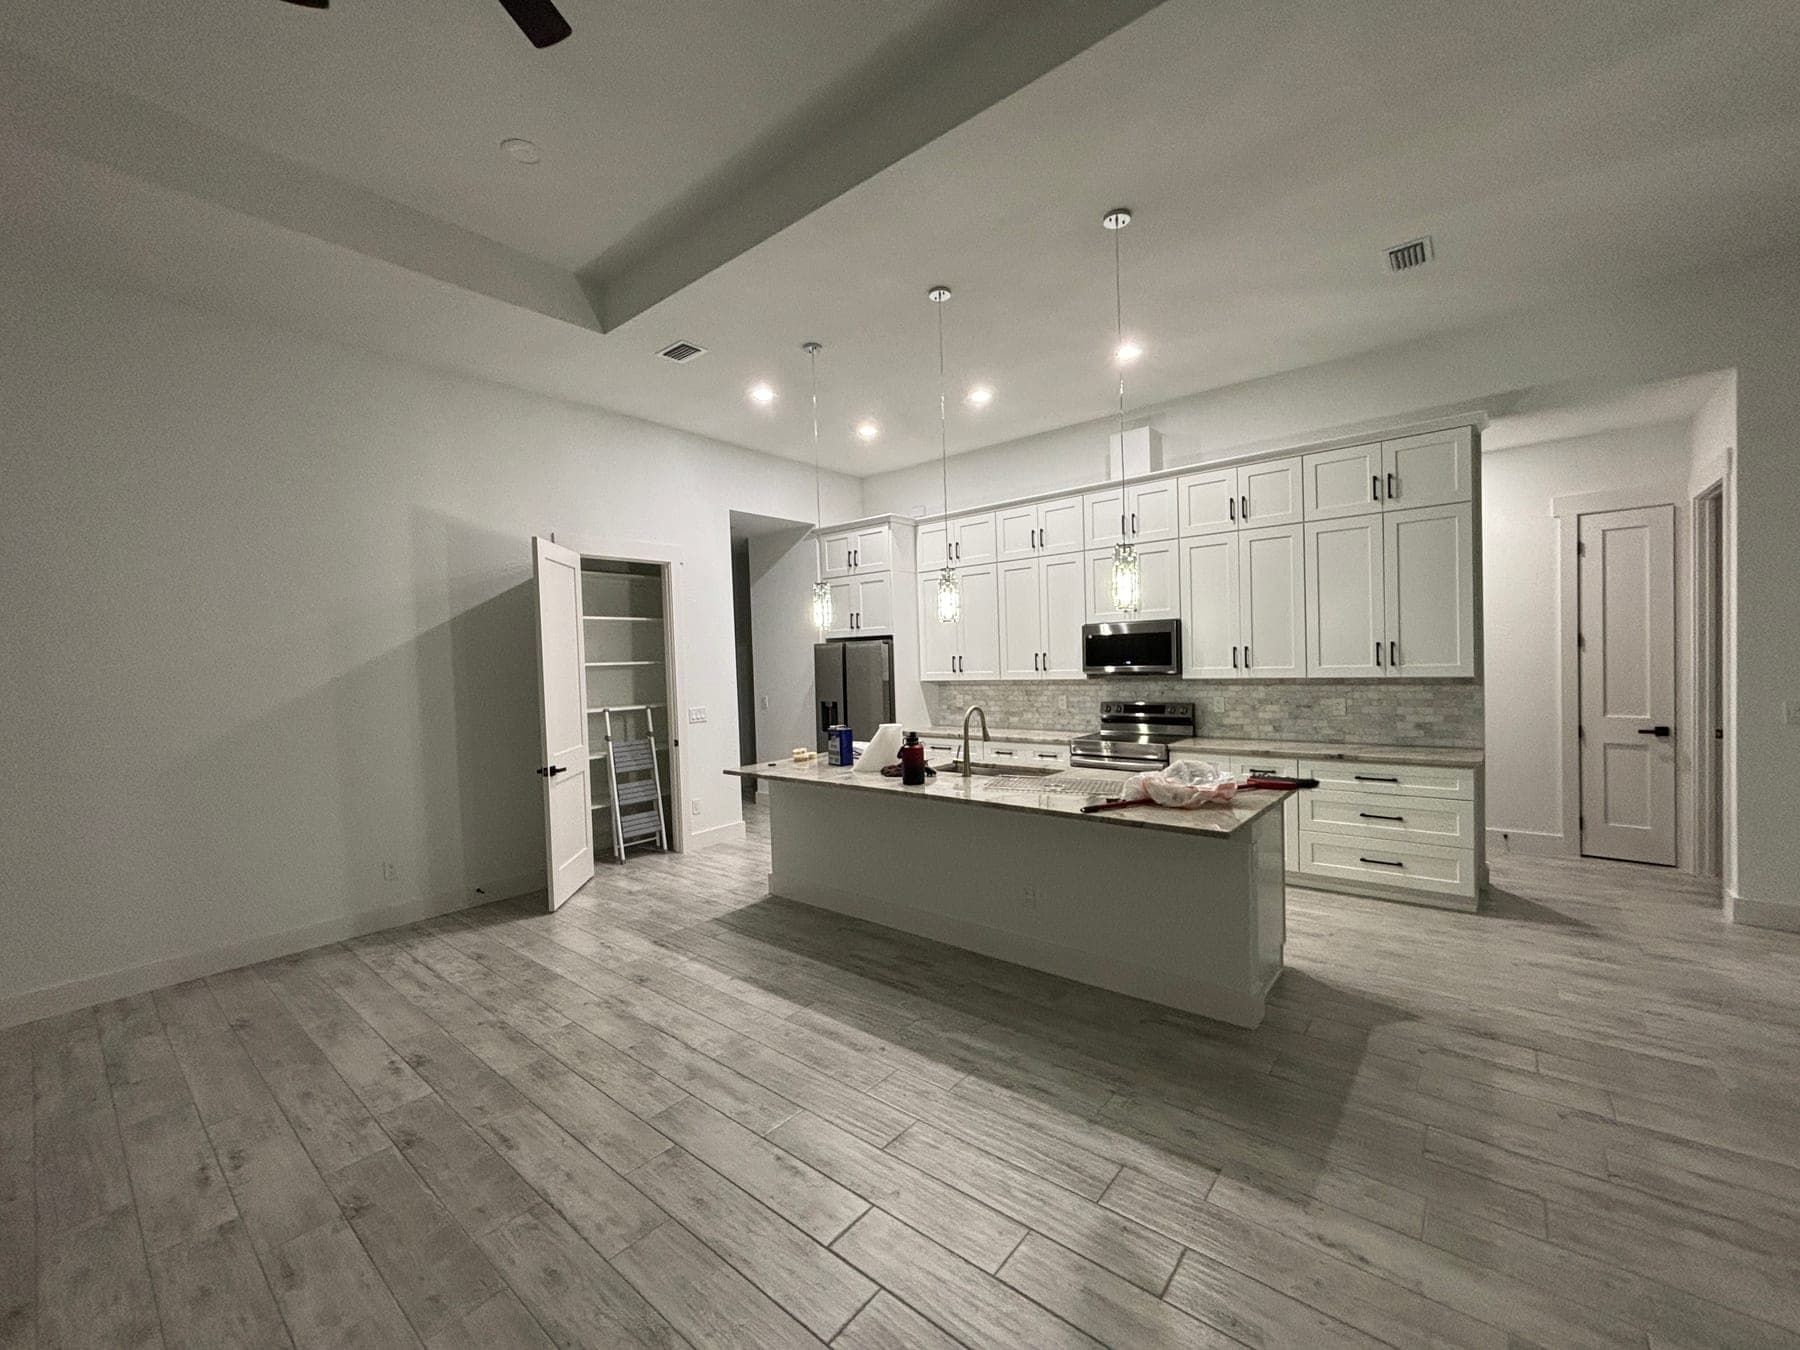
Tile direction is not decided by a slogan such as “run it toward the light.” In a connected Sarasota floor plan, the installer weighs the longest sightline, main entrance, sliding doors, kitchen island, hallway widths and transitions to untiled rooms. Reference lines should continue logically even when walls are not square. The goal is to place full and cut pieces deliberately, avoid weak slivers at visible edges and prevent a small room adjustment from throwing off the larger field. Ask to review the proposed direction and the locations where the layout must make a visual compromise.
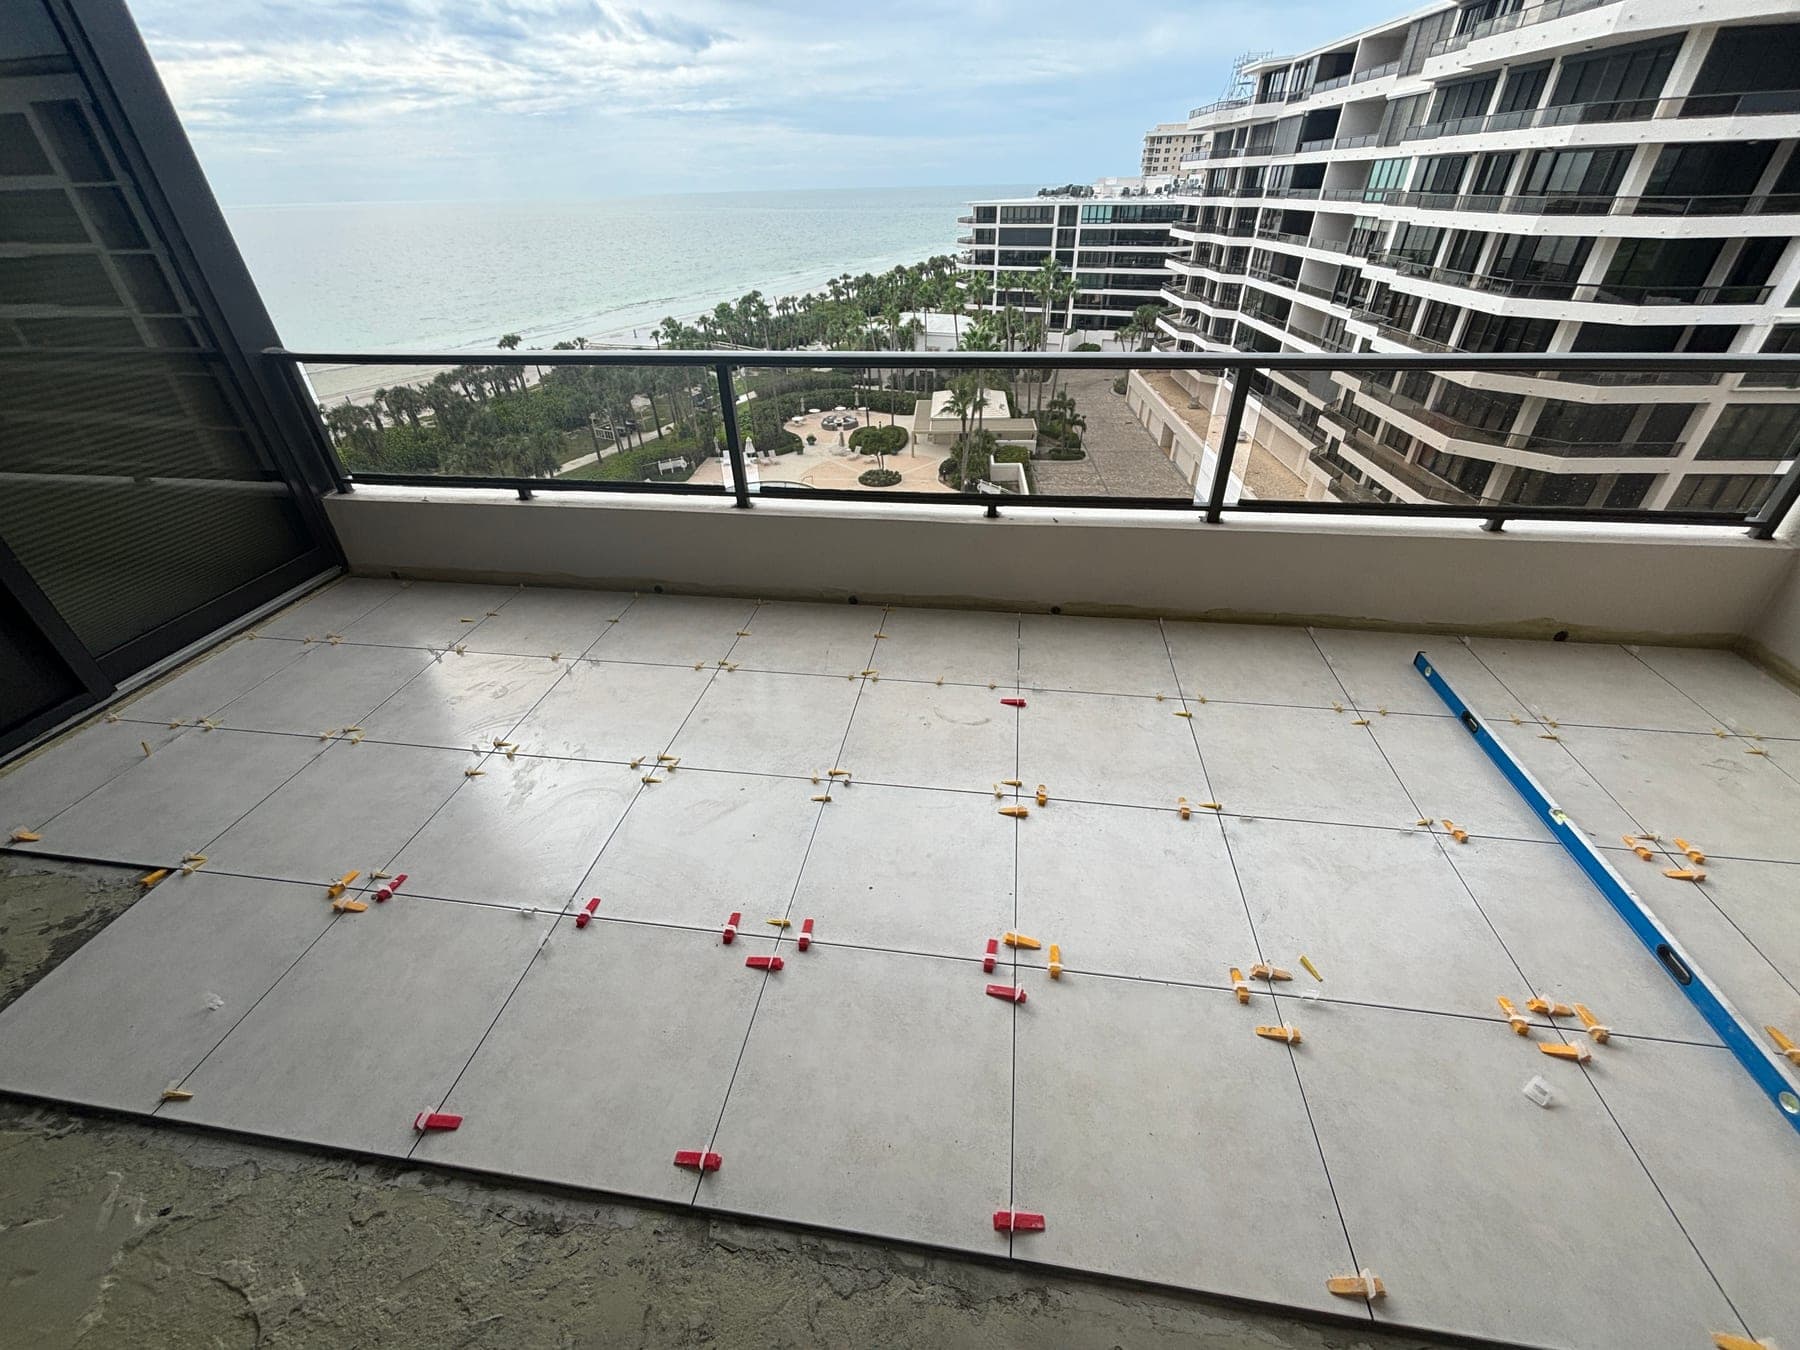
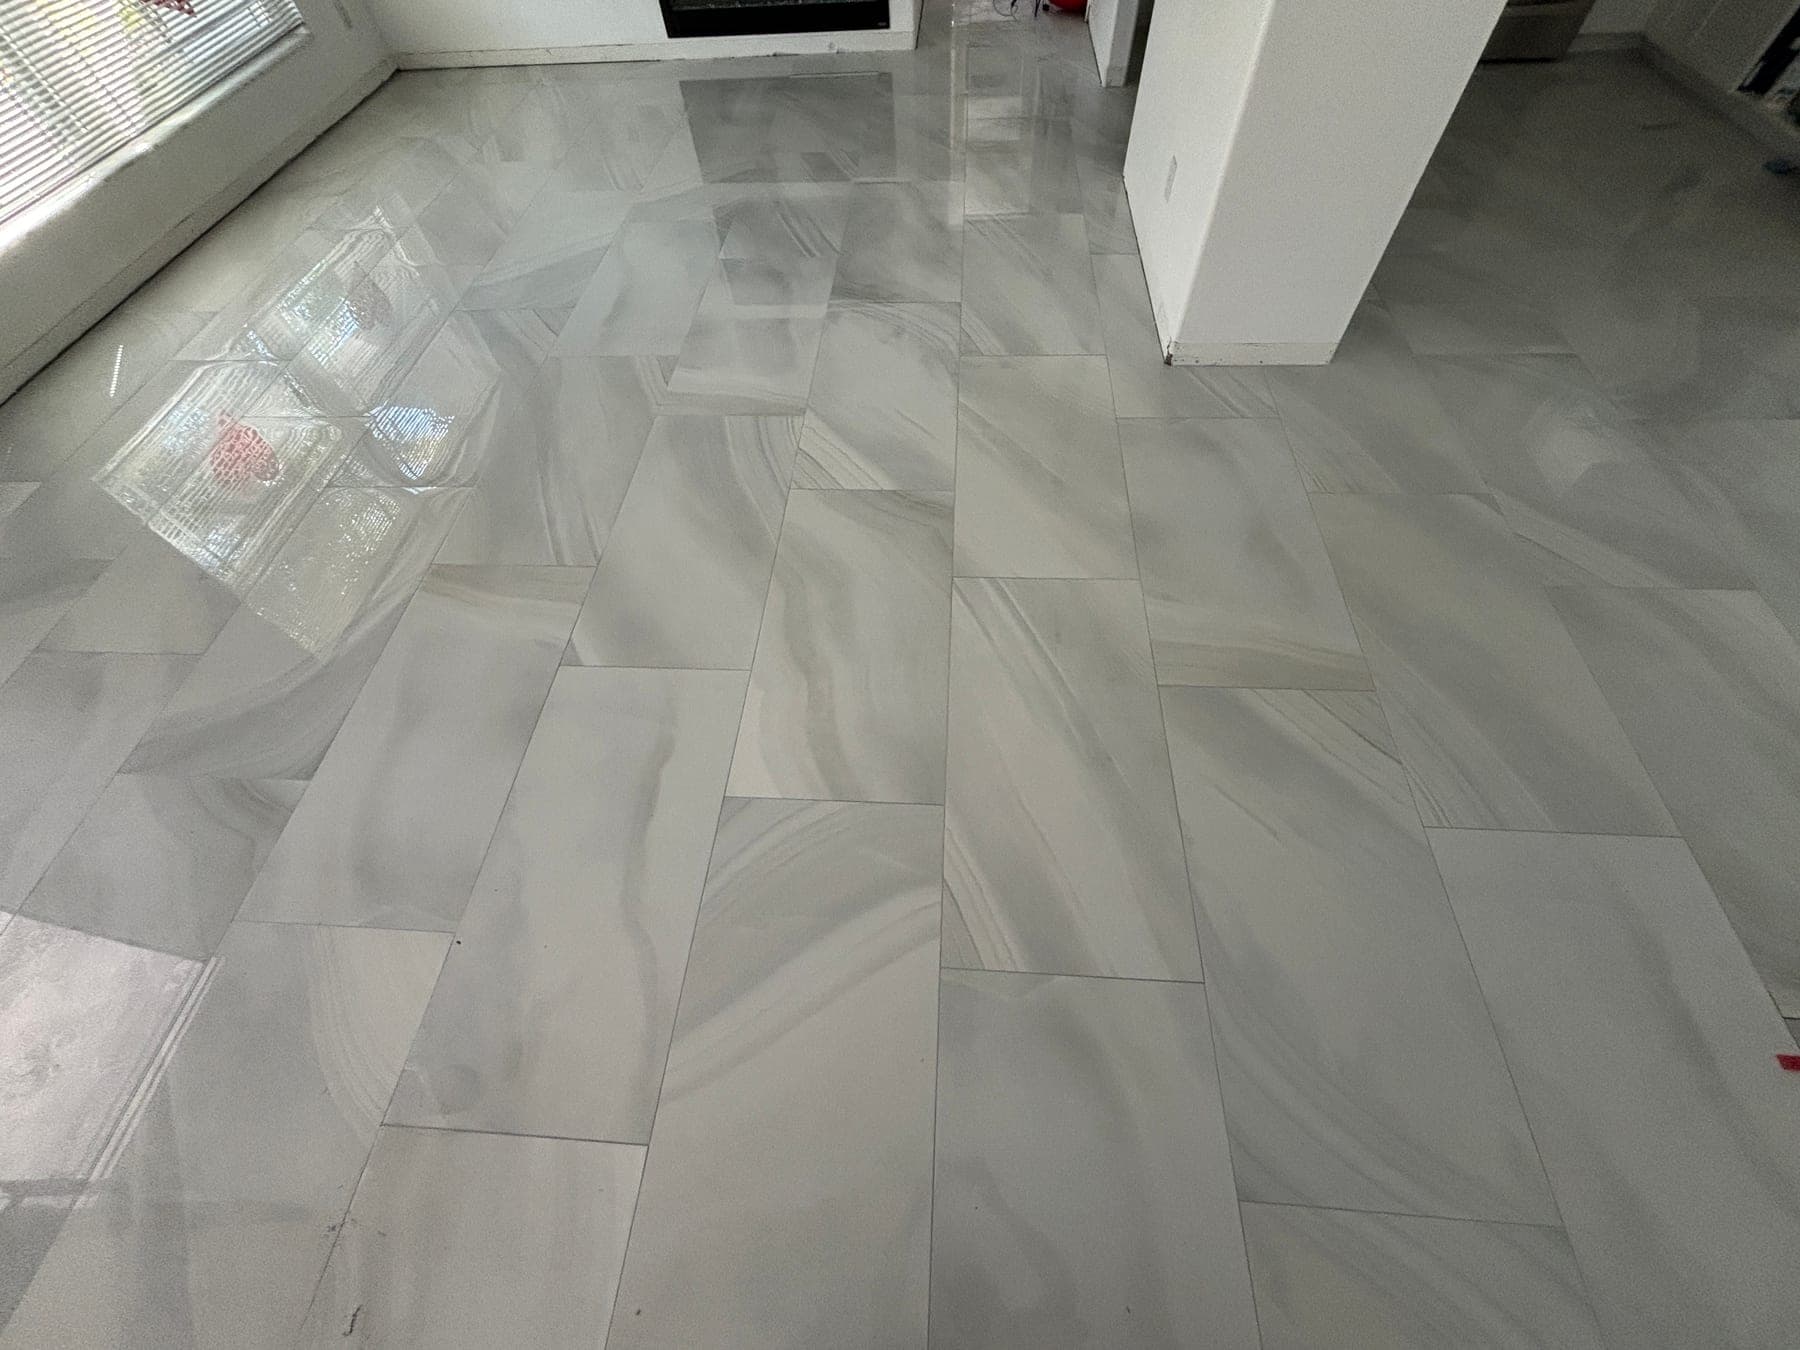
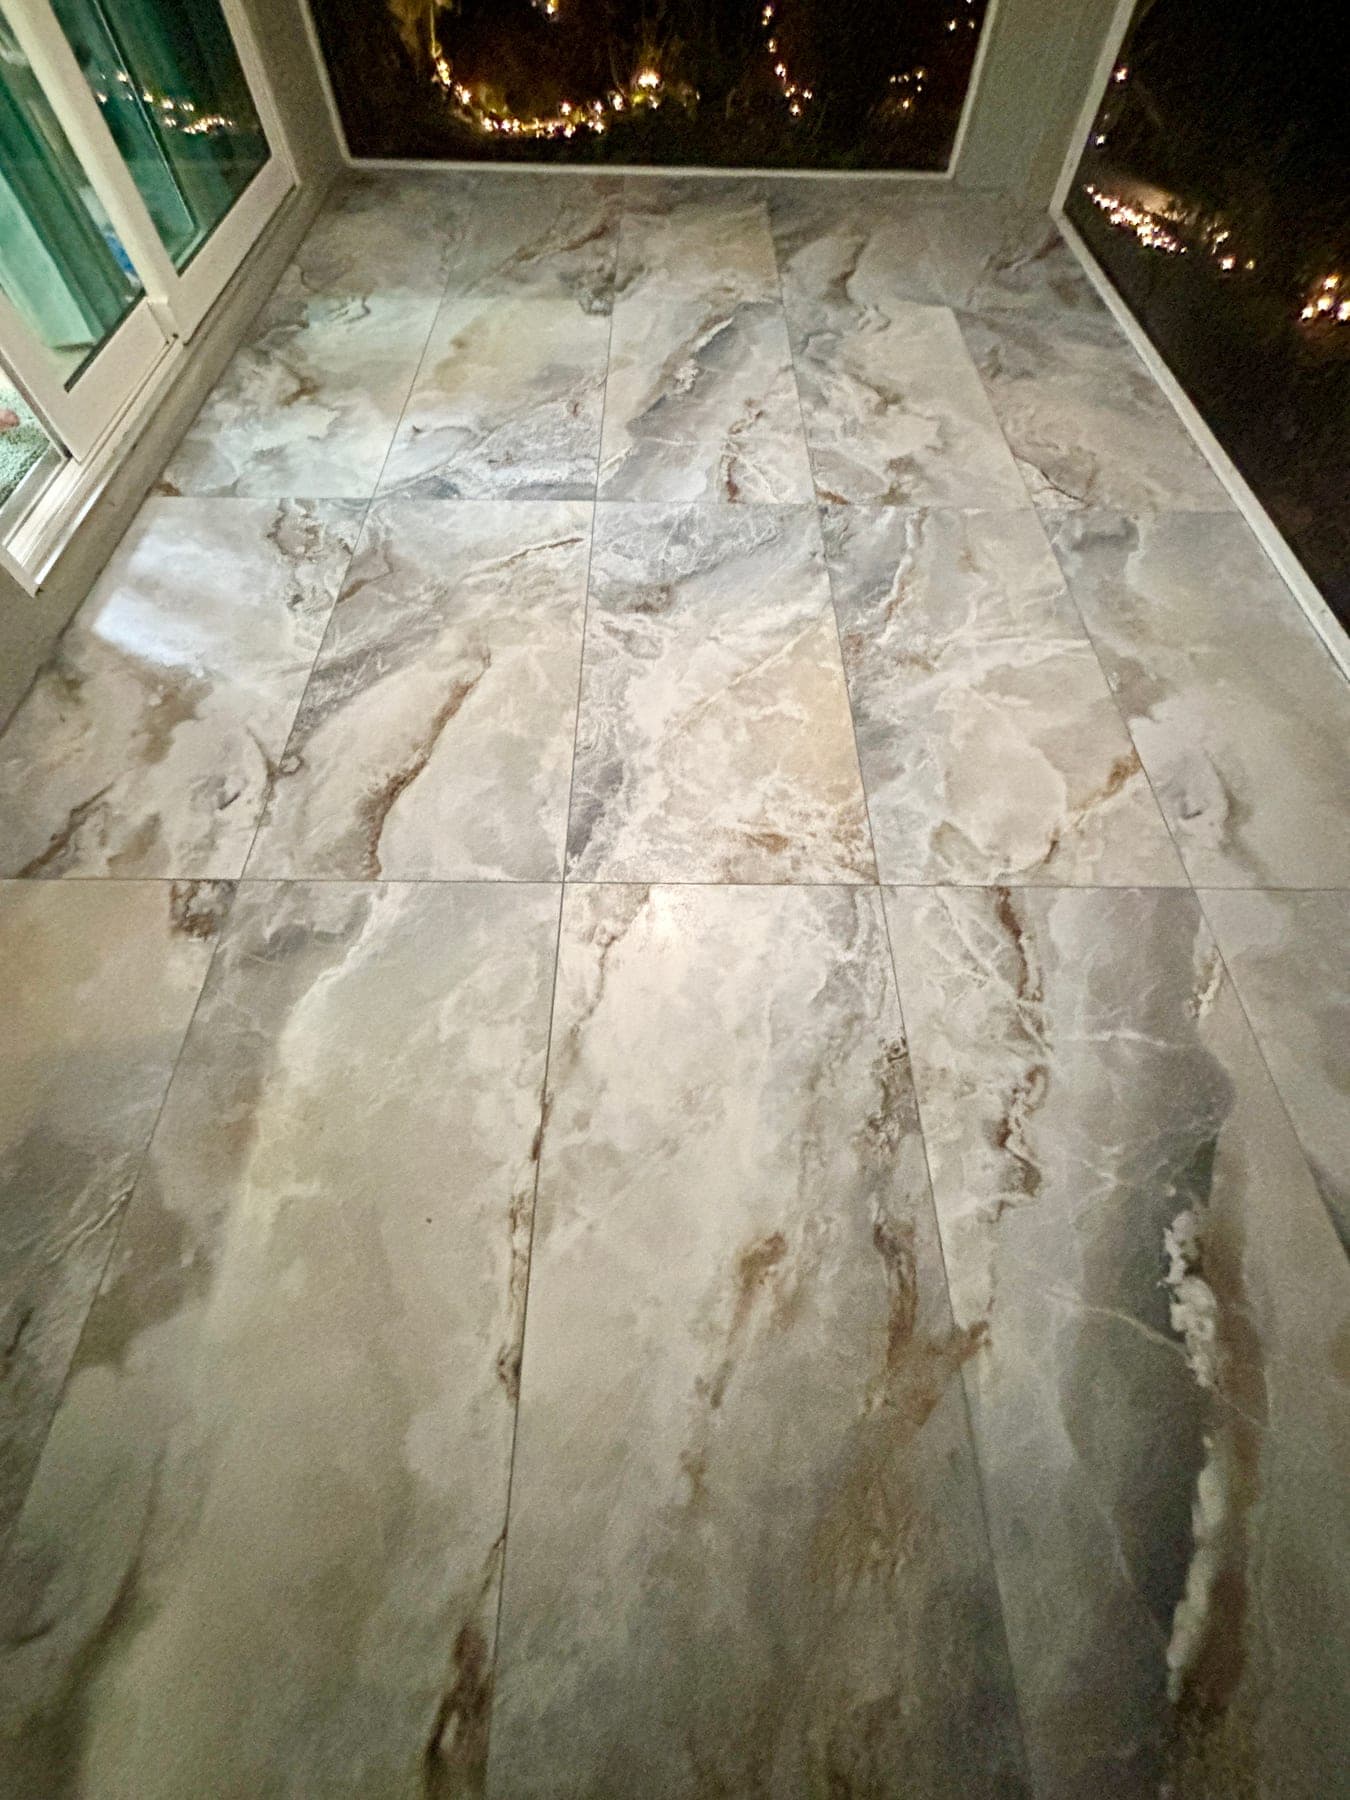
Rectangular and veined tile adds choices about orientation, offset and pattern repetition. The installer should consider the product’s dimensional variation and shape instead of forcing a pattern chosen from a catalog photograph. Dry planning several rows can reveal how joints will meet doorways, cabinets and room centers. It also creates a chance to blend strong graphics before mortar is involved. For 24×48 or other large formats, a small reference-line error can travel across an open room quickly, so checkpoints matter. A brief layout review gives the homeowner meaningful control without requiring them to direct each individual piece.

06
Prepare the surface and coordinate every edge
Once the layout is known, preparation can be tied to the finished plane. The crew may need to mechanically clean residues, fill localized voids, reduce high areas or use an appropriate flattening method. The chosen approach should be compatible with the concrete, setting materials and any membrane included in the assembly. Preparation also extends to perimeter space, columns, cabinet bases and changes of plane. These areas need room for the planned finish and movement accommodation; they should not be improvised after the center of the room is complete. Document which corrections are included and how additional findings will be approved.
Transitions deserve the same attention as the middle of the floor. Compare finished heights at exterior doors, carpet, wood, existing tile, shower thresholds and appliance openings. Decide whether a profile, reducer or carefully finished tile edge will create the cleanest and safest connection. Door undercuts and base details may need coordination before setting starts. In homes with long continuous areas, the movement-joint plan should respond to the actual installation and product guidance rather than being hidden for appearance. These small boundaries determine whether the new floor feels integrated with the home or merely placed inside it.
07
Set tile with controlled coverage, plane and cleanliness
Setting day should follow the approved reference lines and material plan. Mortar selection and mixing need to suit the tile, substrate and working conditions, while troweling and piece placement should support the required contact for the application. Larger pieces may need additional handling and mortar application practices. Ask how the crew checks transfer periodically rather than assuming every tile bonded the same way. Edge-control clips can assist a trained installer, but they do not replace a flat substrate or careful placement. The visual objective is consistent joints and a controlled plane, supported by sound installation practices underneath.
Clean working habits matter because dried mortar in joints can interfere with grout depth and leave difficult residue on textured surfaces. The crew should remove excess material while it is manageable, keep joint lines open and protect completed sections from traffic. Tile from several cartons may be blended as work advances so a concentrated shade or graphic does not develop unnoticed. Homeowners can help by keeping the agreed work zone clear and directing questions to the project contact instead of walking onto freshly set areas. Progress should be evaluated from normal room views as well as close range.
08
Grout, cure and protect before normal use resumes
Grout completes the visual field but also depends on preparation, mixing, placement and cleaning. Confirm the color under the home’s lighting and understand how the chosen joint width affects the overall appearance. Flexible sealant or other specified treatment may be used at changes of plane and designated movement locations rather than filling every boundary identically. A grout marketed for easier care still needs correct installation and cure. Before broad cleaning begins, the crew should consider whether the tile surface or texture calls for a test area to avoid haze or an altered finish.
The quiet time after setting and grouting is part of the installation. Product-specific cure and traffic guidance should control when people, pets, rolling loads and furniture return. Heavy pieces should be carried and placed with appropriate protection instead of dragged across a young floor. If the project is phased, mark usable pathways clearly and prevent household cleaning products from entering unfinished areas. Schedule appliance or baseboard work around the same limitations. Rushing this stage can damage an otherwise careful project, while a written return-to-use plan removes guesswork for everyone living in the home.
09
Use the final walkthrough to protect long-term value
A final walkthrough should be more useful than a quick look for chips. View the floor from primary entrances and seated positions, then inspect transitions, perimeter finishes, door operation, grout consistency and the condition of adjacent surfaces. Confirm that agreed punch items are recorded with responsibility and timing. Ask for the exact tile, grout and setting-product identifiers used, along with relevant care information. Retain clearly labeled spare tile in a protected location. Photographs of completed rooms and concealed preparation stages can also become helpful project records when their context is accurately described.
Finish by agreeing on a realistic care routine. Dry removal of sand and grit before wet cleaning can reduce abrasion, while manufacturer-compatible products help preserve grout and tile surfaces. Avoid assuming that a stronger or acidic cleaner is automatically better. Inspect flexible perimeter and transition details periodically and address damage rather than covering it. When requesting an installation proposal, use this process as a checklist: conditions, removal, preparation, layout, materials, setting, curing and closeout should all be understandable. A clear scope gives the homeowner a stronger basis for a productive site consultation and a reliable finished floor.
FAQ
Questions Sarasota homeowners ask
Can new floor tile be installed directly over my Sarasota concrete slab?
Sometimes, after the slab is exposed, cleaned and evaluated. Residue, cracks, flatness variation and moisture indicators can change the preparation plan. A useful proposal explains the assumed substrate condition, known corrections and how concealed findings will be handled rather than promising direct installation from photographs alone.
How should tile direction be chosen in an open-plan home?
Direction should respond to the main sightlines, room proportions, entrances, fixed features and transitions across the connected area. The best plan may balance several competing views and focal areas. Review reference lines and likely edge cuts before setting, especially with long rectangular or strongly veined pieces.
Do I need to move all furniture before floor installation?
The answer depends on access, project size and whether the work can be phased without compromising layout or cure. Responsibility for furniture, appliances and fragile items should be stated in the scope. Even when moving is included, homeowners should secure valuables and create an agreed staging area.
When can we walk on or replace furniture on the new tile?
Follow the specific mortar, grout and installation guidance rather than a generic timetable. Conditions and product choices affect cure in your home. Ask for separate instructions for light foot traffic, cleaning, appliances and heavy furniture, and use suitable floor protection when other work continues nearby.
What should be included in a tile floor installation estimate?
Look for defined areas, removal, disposal, protection, preparation assumptions, crack response, layout, setting materials, grout, transitions, base details and cleanup. The estimate should also identify owner-supplied products, exclusions, access constraints, final care guidance and the process for approving work that could not be confirmed before demolition.